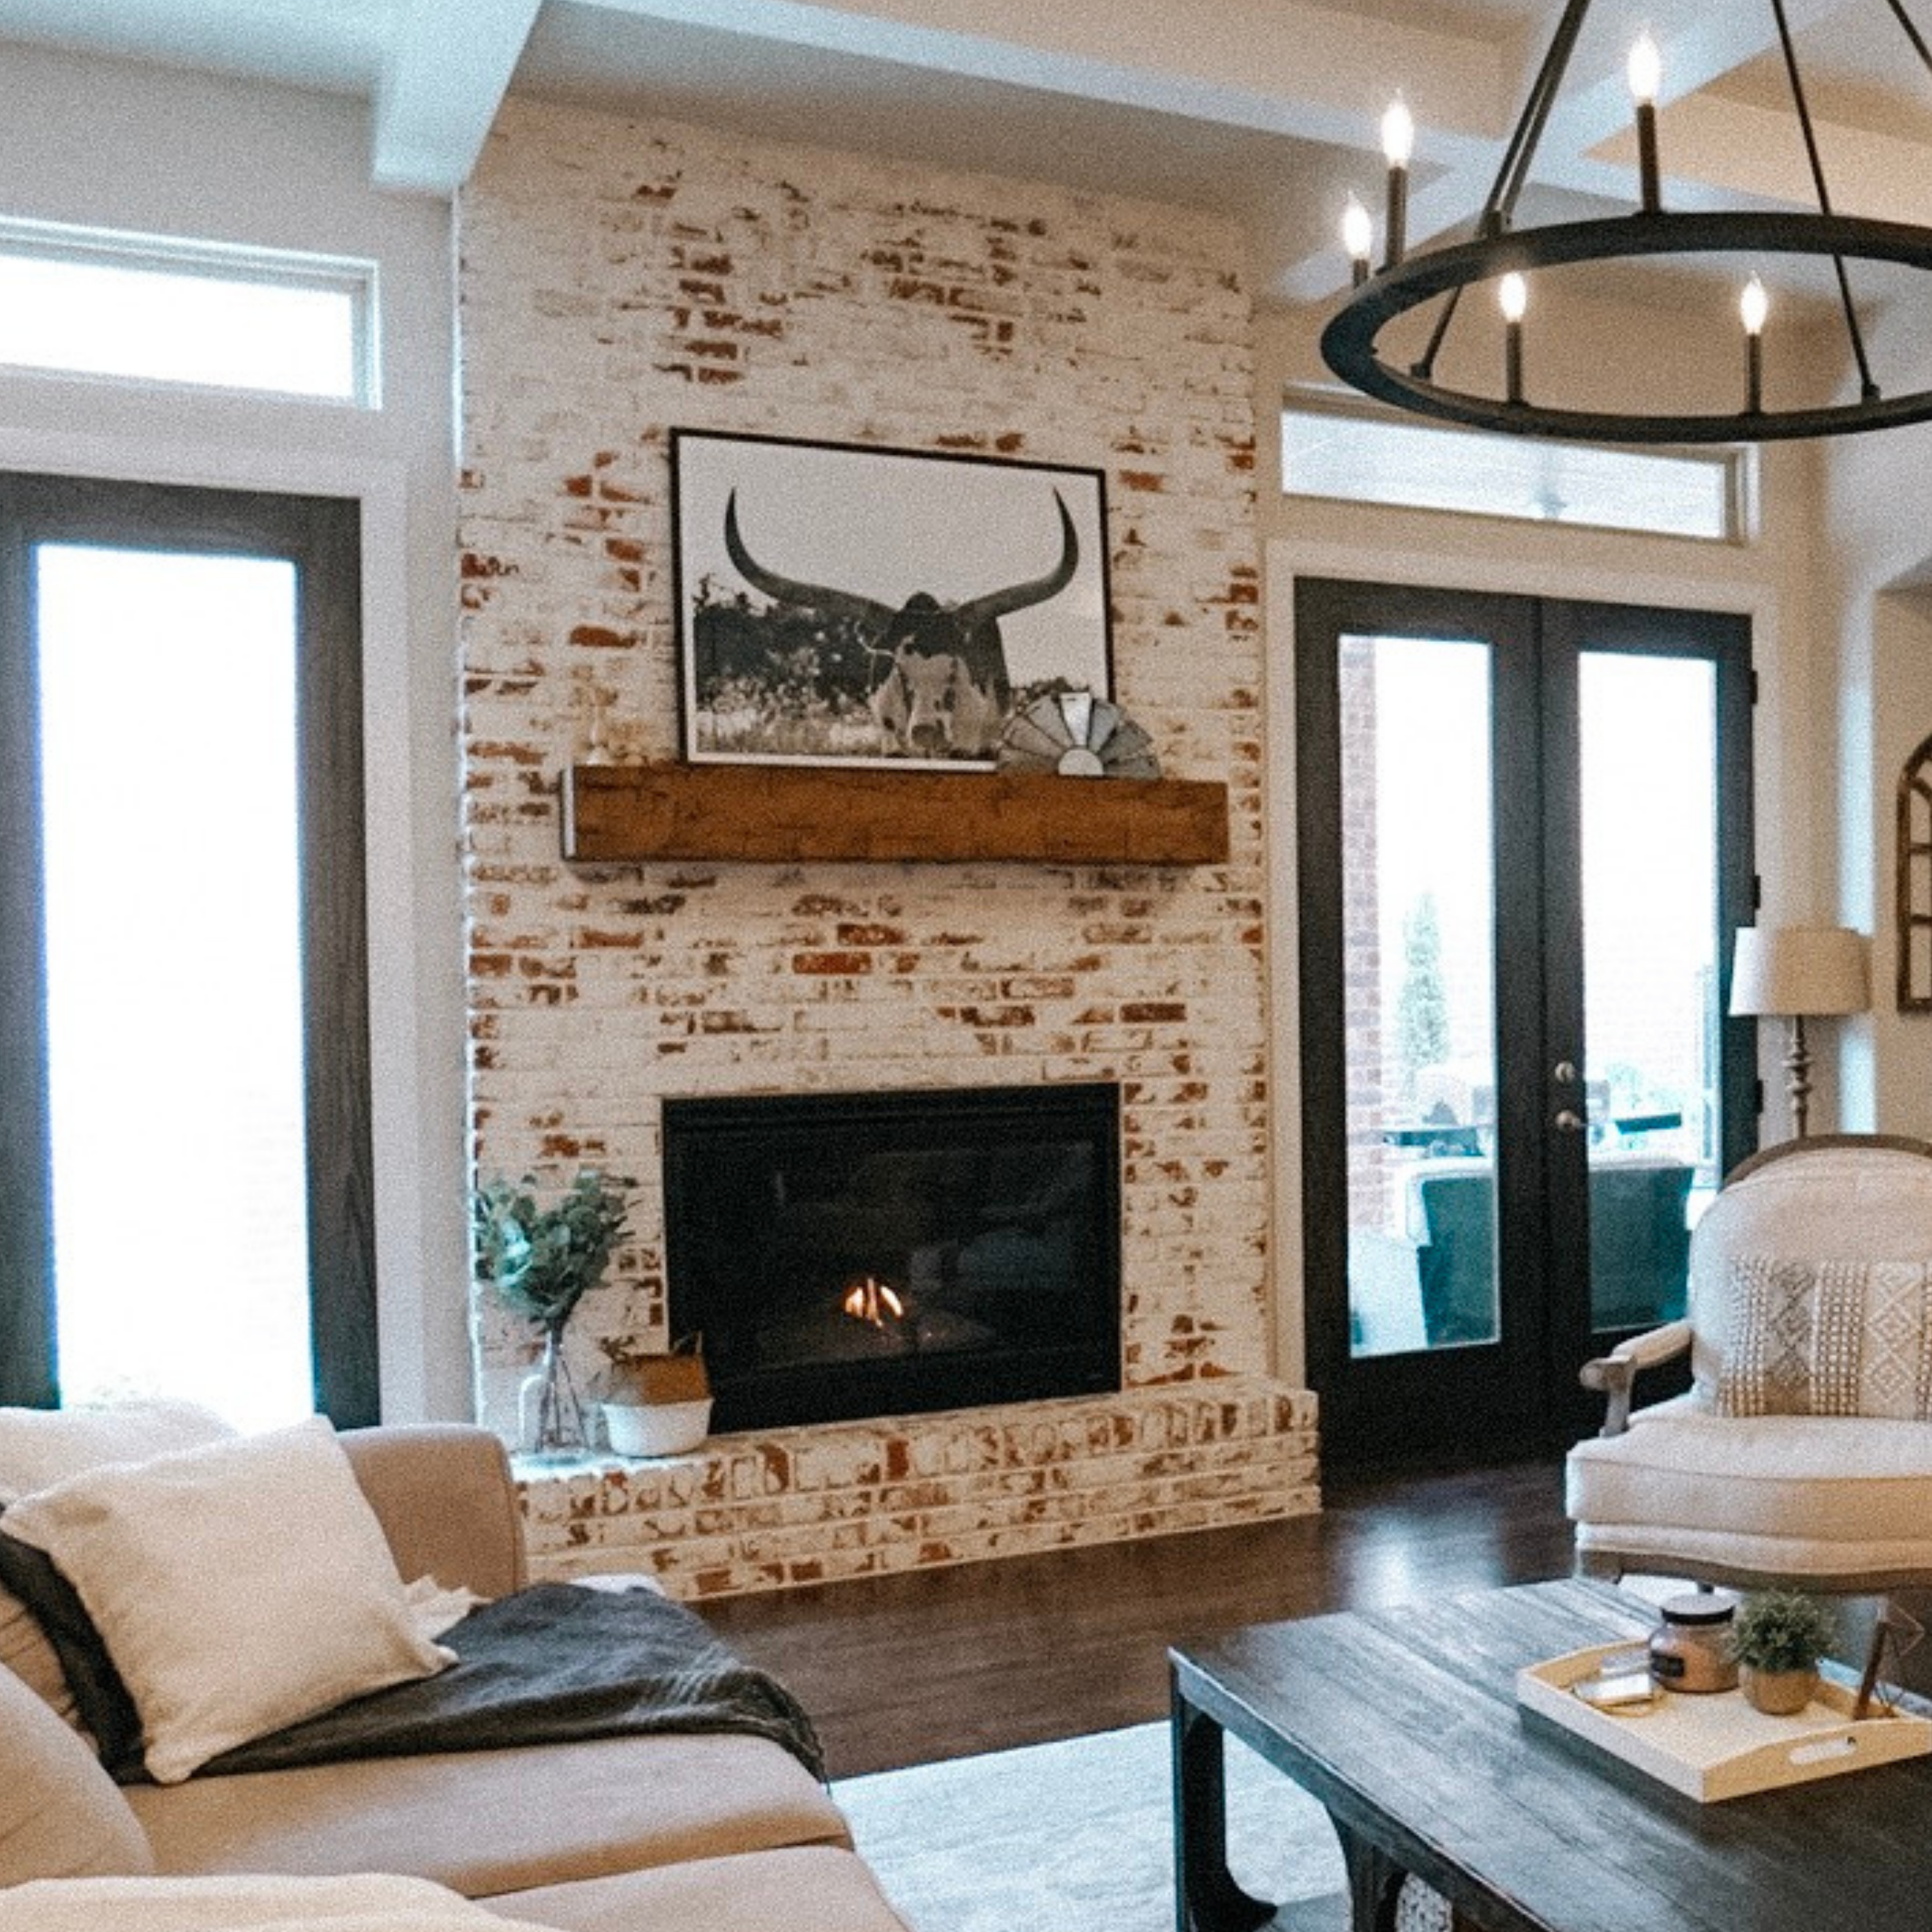
A fireplace surround sets the tone for your entire living space, and real clay brick gives it a character that paint or tile simply can't match. The challenge has always been installation complexity, but Old Mill Building Products changed that with Brickwebb®, a patented mesh-mounted thin brick system that lets you place up to twelve real bricks at once.
This guide walks you through every step of installing Brickwebb on your fireplace surround, from safety checks to final grouting. You'll get clear instructions, practical tips for avoiding common mistakes, and the confidence to take on this project yourself.
Quick Guide: How to Install Brickwebb on a Fireplace in 7 Easy Steps
- Check Fireplace Clearance and Safety Requirements: Verify your fireplace manufacturer's clearance specs and confirm your surround area meets non-combustible material requirements.
- Prepare and Clean the Surround Surface: Remove debris, repair imperfections, and apply a non-combustible substrate like cement backer board for a solid bond.
- Measure the Surround and Plan Your Layout: Calculate square footage, add 10% for cuts, and dry-fit Brickwebb® sheets to map corner pieces and seam placement.
- Gather Your Tools and Materials: Collect your trowel, level, saw, safety gear, and Old Mill Brick Bond adhesive so everything is within reach on install day.
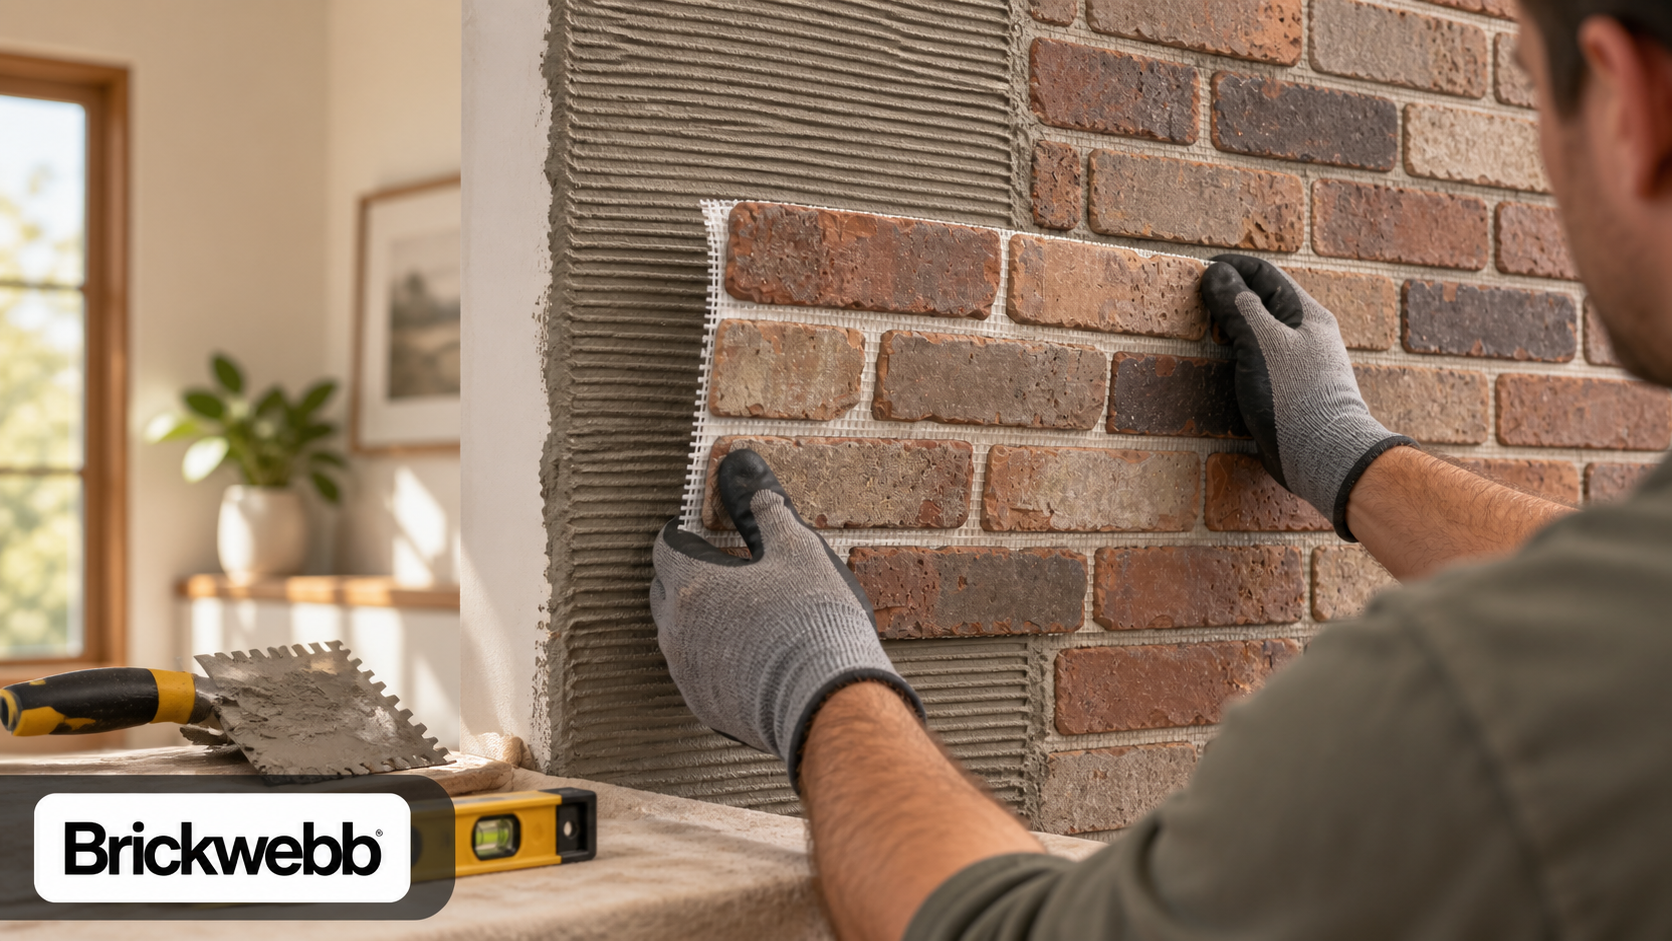
- Apply Adhesive and Set the Brickwebb Sheets: Spread adhesive with a notched trowel and press each mesh-mounted sheet firmly into place, starting from your level line.
- Cut and Fit Bricks Around Edges and Openings: Use a wet tile saw or angle grinder to trim sheets for tight fits around the firebox opening, mantel, and corners.
- Grout, Clean, and Seal the Finished Surround: Fill joints with your chosen grout method, tool for a clean profile, and apply a breathable sealer if desired.
How to Install Mesh-Mounted Thin Brick Panels on a Fireplace Surround
1. Check Fireplace Clearance and Safety Requirements
Before you pick up a single tool, review your fireplace or stove manufacturer's installation manual. Every unit lists minimum clearances to combustible materials, and those dimensions determine how close your thin brick surround can sit to the firebox opening.
Old Mill thin brick is a non-combustible, kiln-fired clay material conforming to ASTM C1088. That means the brick itself tolerates extreme heat. According to the Brick Industry Association's technical notes on fire resistance, clay brick is classified as a traditionally non-combustible material. For wood-burning fireplace surrounds, pair it with a non-combustible substrate such as cement backer board and a non-combustible adhesive to keep the entire assembly compliant.
Always check your local building codes before starting. If your municipality requires a permit for fireplace modifications, secure it now. Taking this step first prevents costly rework later.
2. Prepare and Clean the Surround Surface
Your surface needs to be clean, dry, solid, and flat. Remove any loose paint, dust, grease, or old adhesive residue with a scraper and damp cloth. Let the wall dry completely before moving forward.
If your existing surround is drywall, consider replacing it with cement backer board for areas directly adjacent to the firebox. This provides a non-combustible, stable base that supports a strong bond with the adhesive.
Fill cracks and level low spots with a suitable patching compound. Even small surface irregularities can prevent the Brickwebb sheets from sitting flat, which leads to uneven grout lines down the road.
3. Measure the Surround and Plan Your Layout
Measure the height and width of each section of your surround. Multiply those numbers to get total square footage. Then add 10% to account for cuts, waste, and any trimming around the firebox opening.
If your surround has outside corners, measure the total linear feet of those corners and order Brickwebb® corner pieces separately. Starting installation at corners ensures the cleanest alignment for the rest of your layout.
Dry-fit a few sheets against the surround before applying any adhesive. This helps you visualize seam placement and identify where you'll need partial sheets or individual brick cuts. Mark light guide lines with a level every 21 inches to keep courses straight as you work.
4. Gather Your Tools and Materials
Having everything at arm's reach makes install day faster and reduces mistakes. Here's what you'll need:
- Tape measure, pencil, and a spirit level or laser level
- 3/8 in. × 1/4 in. notched trowel
- Mixing bucket and drill paddle (if mixing adhesive)
- Utility knife or shears for cutting the mesh backing
- Angle grinder with a diamond blade or wet tile saw for cutting bricks
- Grout bag or rubber float, 3/4 in. brick jointer, sponge, and clean rags
- Safety glasses, dust mask, and work gloves
For adhesive, Old Mill Brick Bond is a pre-mixed option that eliminates mixing and delivers zero-slippage hold on vertical surfaces. It's optimized for Brickwebb and thin brick, and its zero-VOC formula makes it a practical choice for interior projects like fireplace surrounds.
5. Apply Adhesive and Set the Brickwebb Sheets
Working in small sections prevents the adhesive from skinning over. Using your notched trowel, spread a thin, even layer of adhesive onto the surround surface, covering an area you can reach within a few minutes.
Press the first Brickwebb® sheet into the adhesive along your level line. Push firmly so the adhesive keys through the mesh backing and makes full contact with the brick. Maintain a 3/8-inch gap between bricks for grout.
Stagger each subsequent sheet so that vertical seams don't stack in a straight column. If a brick on the sheet looks out of alignment, pull it from the mesh, apply a small amount of adhesive to the back, and reset it by hand. For sheets that tend to slide on vertical surfaces, two small drywall screws through the mesh hold everything in place until the adhesive cures.
6. Cut and Fit Bricks Around Edges and Openings
A fireplace surround has more cut lines than a flat accent wall. You'll need to trim sheets around the firebox opening, mantel, and any architectural details. Use a wet tile saw for straight cuts and an angle grinder with a diamond blade for notches and irregular shapes.
Always cut bricks face down to reduce chipping on the visible surface. Wear safety glasses and a dust mask during every cut. Clay dust is fine and persistent, so contain it with a drop cloth or work outdoors if possible.
Dry-fit each cut piece before applying adhesive. Adjust until the brick sits flush with adjacent sheets and the gap around the firebox opening stays consistent.
7. Grout, Clean, and Seal the Finished Surround
Wait at least 24 hours after setting the last sheet before grouting. The adhesive needs full cure time so bricks don't shift when you press grout into the joints.
You have two grouting options. The bag method uses Type S mortar squeezed through a grout bag, then tooled with a 3/4-inch brick jointer for a traditional recessed joint. The float method uses sanded tile grout spread across the surface with a rubber float for a smoother, fuller joint profile.
After grouting, wipe any residue from brick faces with a damp sponge before it hardens. Once the grout fully cures, consider applying a breathable masonry sealer for added protection. Always test the sealer on a small area first, and follow the manufacturer's label. For ongoing maintenance and care, a seasonal check and gentle cleaning keep your brick surround looking sharp for years.
What Surfaces Work for a Thin Brick Fireplace Surround?
The substrate behind your thin brick determines how well the installation holds up over time. Cement backer board is the most reliable choice for fireplace surrounds because it's non-combustible, moisture-resistant, and provides a solid bonding surface.
Concrete and masonry walls also work well, as long as they're clean and free of sealers that could block adhesion. Clean drywall can support Brickwebb on areas that sit outside the minimum clearance zone, though it's not recommended directly adjacent to the firebox.
Avoid surfaces with loose or flaking paint, wallpaper, or residue from old adhesives. These compromise the bond between adhesive and substrate, and on a fireplace surround, that's a risk you don't want to take. Old Mill's installation resource hub covers approved substrates in more detail.
Can You Use Mesh-Mounted Thin Brick Inside a Firebox?
Brickwebb® is designed for the surround around a fireplace or stove, not the interior of the firebox itself. The bricks are non-combustible kiln-fired clay, heated to over 2,000 degrees during manufacturing, so they tolerate high heat on surrounding walls and floors.
Inside the firebox, direct flame contact and temperatures that exceed what adhesives are rated for make it a different situation entirely. Firebox interiors require refractory firebrick rated for direct flame exposure, which is a different product category.
For the walls, mantel area, and hearth extensions around the firebox, Brickwebb gives you the authentic look of real brick with a straightforward installation process. Just confirm your fireplace manufacturer's clearance requirements and use non-combustible components throughout the assembly.
How Old Mill Building Products Helps You Transform Your Fireplace
Old Mill Building Products gives you the materials and support to turn a tired fireplace into a genuine brick focal point. Brickwebb® places up to twelve real clay thin bricks at once with consistent spacing built right into the patented mesh, cutting install time by about 50 percent compared to placing individual bricks.
Old Mill Brick Bond adhesive simplifies the bonding step with a pre-mixed, zero-VOC formula optimized for thin brick. For fireplace surrounds, the non-combustible nature of Old Mill's kiln-fired clay brick, conforming to ASTM C1088, means you're working with a material built for the heat.
From thin brick collections in dozens of colors and textures to sample boxes that let you see the brick in your space before committing, Old Mill equips you for a confident project. Reach out to the Old Mill team for product recommendations, installation questions, or to request project support.
FAQs About Installing Thin Brick on a Fireplace Surround
Do I need cement backer board behind Brickwebb on a fireplace surround?
Cement backer board is recommended for areas directly adjacent to the firebox because it is non-combustible and provides a stable bonding surface. Old Mill Building Products' Brickwebb® adheres reliably to cement board when paired with the right adhesive.
How much Brickwebb do I need for a typical fireplace surround?
Measure the height and width of each surround section, multiply for square footage, and add 10% for cuts and waste. Most typical surrounds require between 15 and 30 square feet of Brickwebb sheets, depending on the design.
Can I install Brickwebb on a surround by myself?
Yes. Brickwebb® is designed for DIY installation, and one person can handle a fireplace surround project over a weekend. The mesh-mounted sheets from Old Mill simplify alignment and spacing, so you don't need masonry experience to get straight, consistent rows.
What adhesive should I use for a fireplace thin brick project?
Old Mill Building Products recommends Brick Bond for interior fireplace surrounds. This pre-mixed adhesive provides instant grab on vertical surfaces and is specially optimized for Brickwebb and thin brick. Avoid using Type S or Type N mortar to bond sheets, as those are grouting materials.
How long does the full installation take?
Plan for one day to prep and set the sheets, then a 24-hour cure period before grouting. Grouting and cleanup typically take a few additional hours. A complete fireplace surround project can be finished in a single weekend with Old Mill Brickwebb®.
Is Brickwebb safe to use around a wood-burning fireplace?
Old Mill thin brick is a non-combustible kiln-fired clay material conforming to ASTM C1088. When installed with non-combustible components like cement backer board and appropriate adhesive, Brickwebb is suitable for wood-burning fireplace surrounds. Always verify clearance specs with your fireplace manufacturer.